ResusSim · Early access

Get ResusSim running in your room

One computer in the room hosts the simulation; every tablet, phone and laptop just joins it. This takes about two minutes, most of it a one-time step the first time you open the app.

One computer hosts. Everything else joins.

You only install ResusSim on the host — a Mac or Windows PC. The bedside iPads, student phones, a wall TV and any laptops connect to it over your room’s Wi-Fi with nothing to install.

Host computerMac or Windows PC — install here
iPad (bedside) Student phones Wall TV Chromebook Any laptop

On a Mac macOS

Download the .dmg, then install it like any app.

  1. Open the downloaded ResusSim.dmg and drag ResusSim into your Applications folder.
  2. Open it from Applications. The first time, macOS shows “Apple could not verify ‘ResusSim’ is free of malware.” — this is expected (see the note below). Click Done.
  3. Go to Apple menu ▸ System Settings ▸ Privacy & Security, scroll to the Security section. You’ll see “ResusSim was blocked to protect your Mac.” Click Open Anyway.
    “ResusSim” was blocked to protect your Mac.
    macOS cannot verify that this app is free from malware.Open Anyway
  4. Confirm with Open Anyway once more and enter your Mac password or Touch ID. ResusSim launches — and you’ll never see this again on this Mac.
Why the warning? ResusSim is in early access and isn’t yet registered with Apple’s notarization service, so macOS asks you to approve it by hand the first time — the same one-time step used for many trusted apps from small developers. Nothing about the app is unsafe; the registration is simply a step we complete before general release.

On a Windows PC Windows 10 / 11

Download the .exe installer and run it.

  1. Double-click the downloaded ResusSim-Setup.exe.
  2. Windows shows a blue “Windows protected your PC” screen. Click the small More info link, then the Run anyway button that appears.
    Windows protected your PC
    Microsoft Defender SmartScreen prevented an unrecognized app from starting.
  3. If Windows asks to allow changes (User Account Control), click Yes. The installer sets everything up, including the firewall permission the devices need — no extra prompts.
  4. ResusSim opens automatically. Future launches skip the warning on this PC.
Why the warning? Same reason as on Mac: the app isn’t yet code-signed for wide release, so SmartScreen flags it as “unrecognized” the first time. More info ▸ Run anyway is the standard one-time approval; it disappears once we add the signing certificate before general release.

iPad, Chromebook, phone or laptop nothing to install

These devices don’t host — they join the Mac or PC that does. Just open a browser.

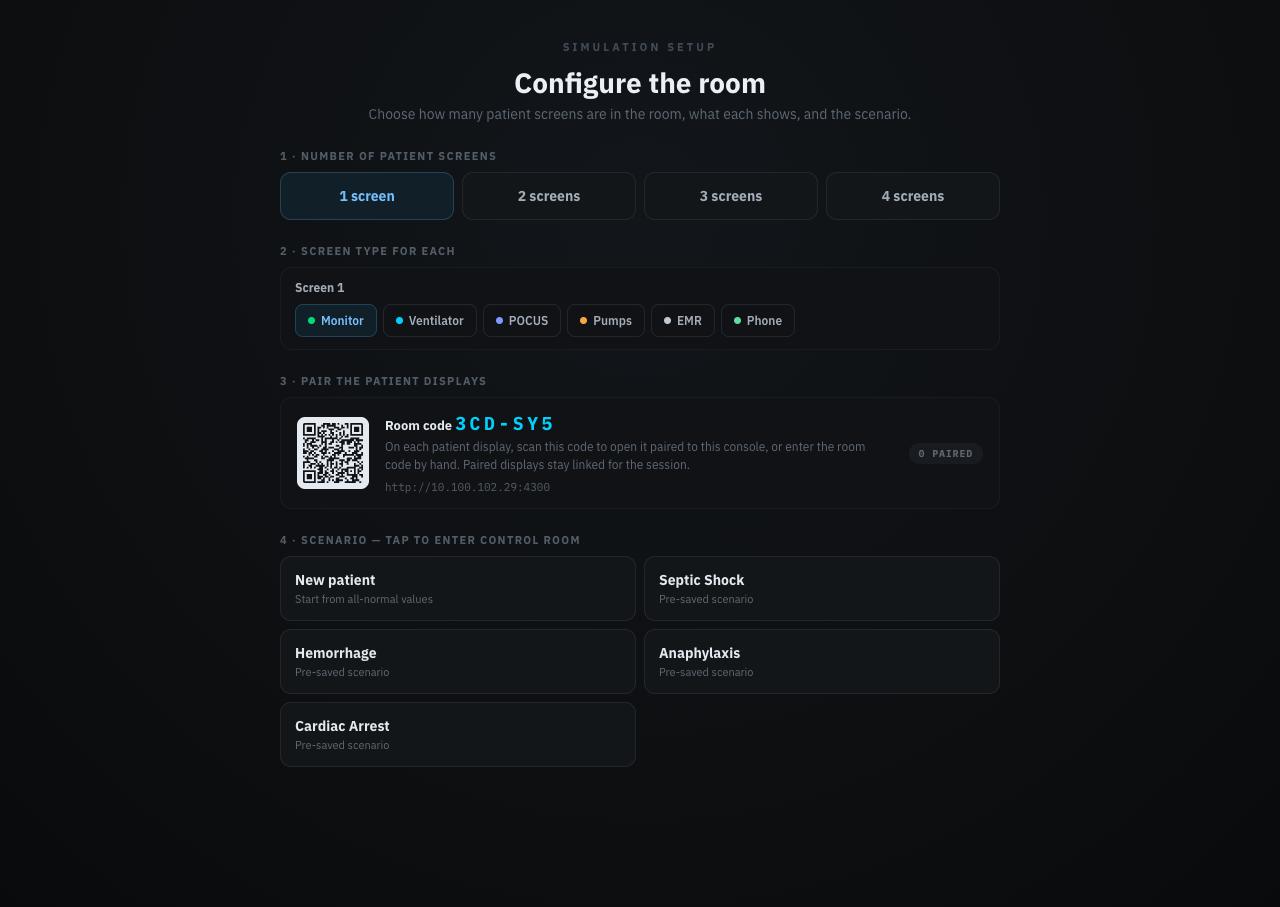
  • On the host, start a session — it shows a room code and a QR code.
  • Scan the QR with the device’s camera, or type the room’s web address into Safari or Chrome.
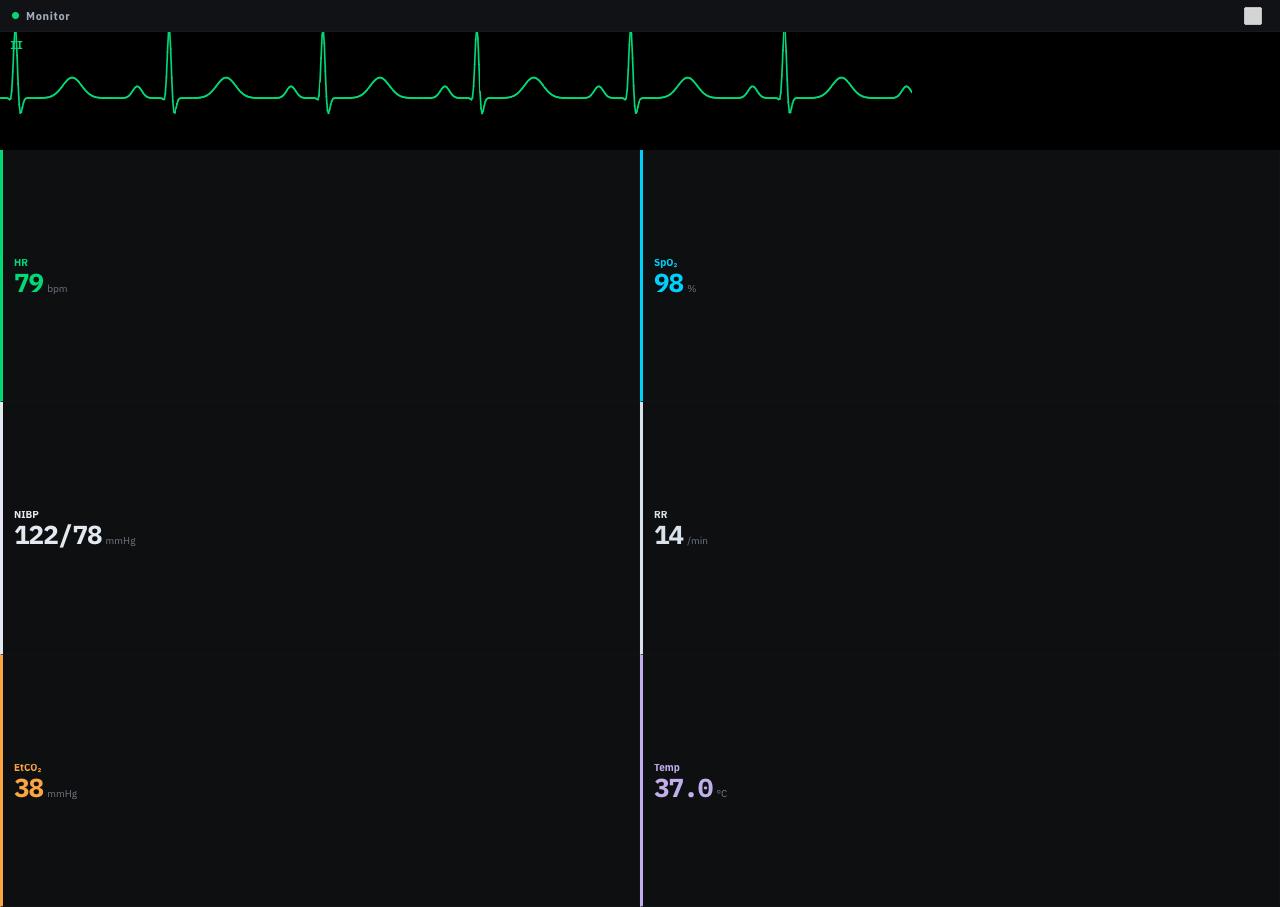
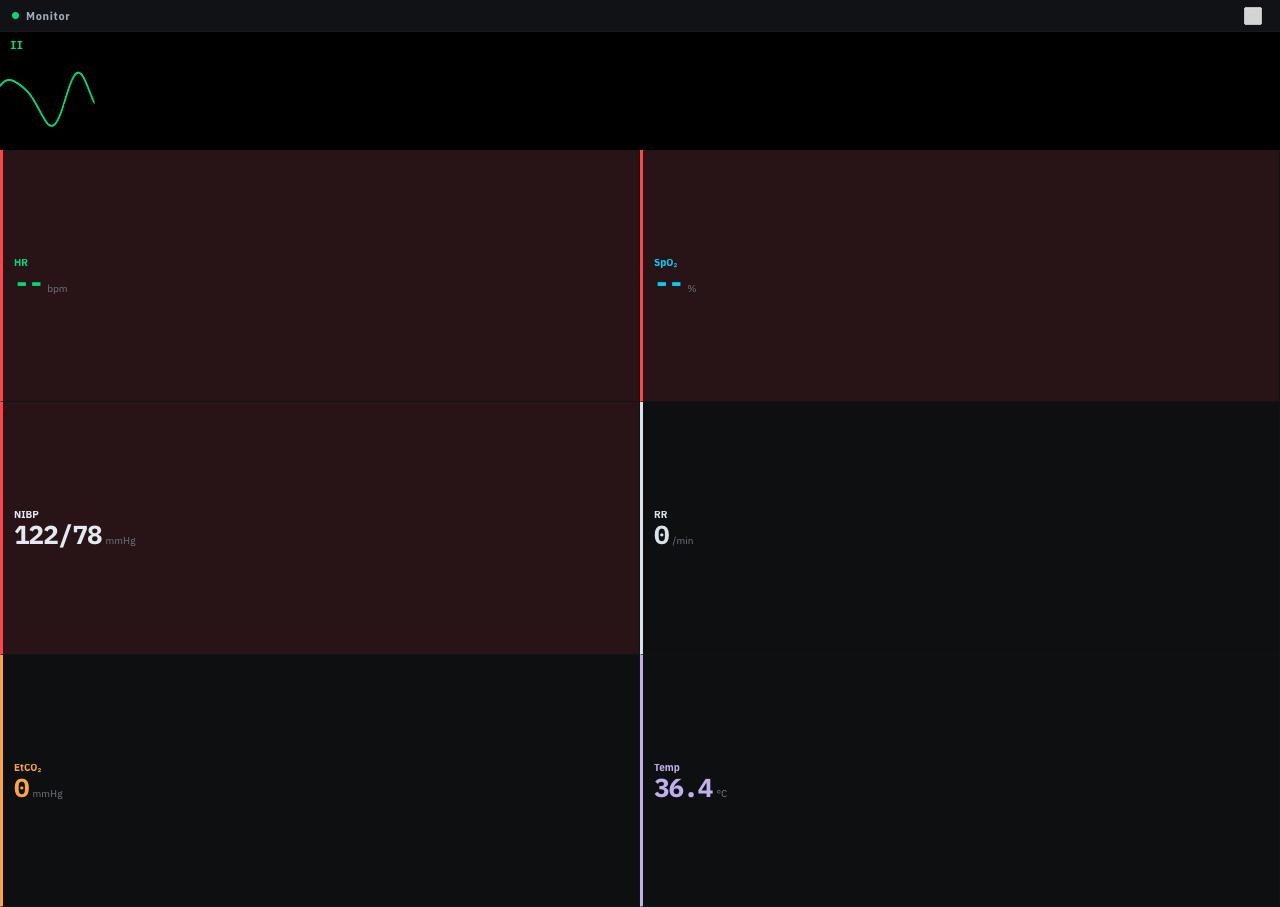
  • The device lands on the right screen — bedside monitor, EMR, consult phone or CPR tool — and stays in sync over your Wi-Fi.
Chromebooks can’t be the host — they have no way to run the installer — but they make excellent joining screens. Keep the host on a Mac or Windows PC, and let Chromebooks, iPads and phones connect to it.